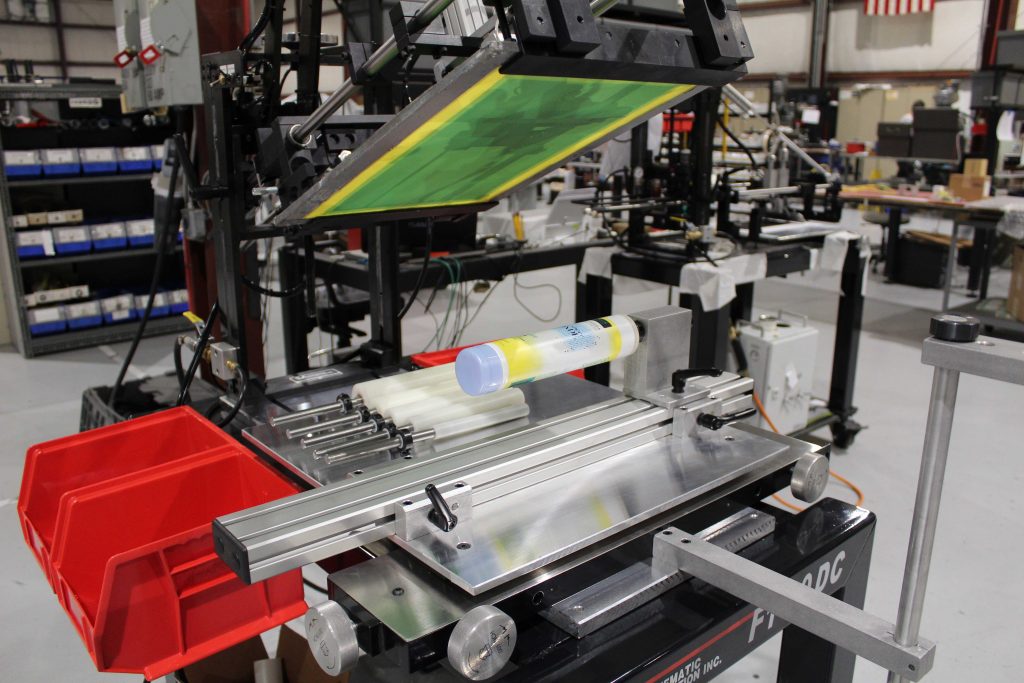
The screen frame is what makes the print, which makes it the most important part of your screen printing process. You will need a screen printing dark room, which should be free of UV light. You will ideally want space with air flow and ventilation. You want the room to be UV-free and there are UV-free lights available. The humidity should be low for this chemical. Without a dry environment, the emulsion will stay wet on the screen frame. You will also want your pressure washer away from the dark room. To improve air flow, all you need to do is add a few fans.

The Film for Your Screen Frame
The film positive should be black, as it is used to block UV light. The best way to make a film for your screen frame is to use a photo quality inkjet printer and a waterproof film.
The Mesh for Your Screen Frame
A screen frame is made with a mesh stretched across it. It used to be made with silk, hence the old term, “silk screen printing”. There are static and tension controlled screens. The tension controlled screen frame allows you to easily adjust your tension but are an investment and take more time to stretch out. Typically, screen makers use glue on the mesh to bond it with the screen. You can even purchase screen frames that are pre-stretched.
One of the main components on your screen frame is the mesh. There are low mesh thread counts and high mesh thread counts. The higher your mesh counts, the smaller the holes for the ink to go through. A coarser mesh is typically for solvent based inks (thicker) while a finer mesh is used for UV inks or when your image has a lot of detail to display.
Your mesh tension is how far the mesh is stretched. You can use a tension meter to measure the screen frame. Ideally, you will want it at 18-24 Newtons. As the screen gets older, it loses tension. Screen frames can last years with thousands of prints. Choosing your mesh correctly is critical for your image quality. The ink and detail of the print are to be taken into consideration with the screen frame. There are a variety of different inks and all will specify a unique mesh. An ink provider will provide a data sheet which will include the desired mesh count.
Coat Your Screen Frame with Emulsion
Make sure you are in a dark room. You need a consistent coating across the screen. Start at the bottom of the screen with a scoop coater. The emulsion will take approximately 30-60 minutes to dry.
The Exposure Unit for Your Screen Frame
Before you put your film under an exposure unit, make sure they are all lined up in the same position for each screen. You can use a template and a T-Square ruler for improved registration between screen frames. Tape the film down on the exposure unit and then adjust the screen above. Positive contact between the mesh and glass is key, which means even pressure between the screen frame and the exposure unit.
Always keep track of your exposure times to refine your method. You don’t want the screen over or under exposed as that will lead to a low quality image. After the screen is exposed, blast wash the screen frame. Check your screen frame for pin holes (small openings where light gets through) and put emulsion or block out over it. Follow up with a second exposure. Put tape down on each side of the screen frame so it evenly covers the mesh and side of the screen frame.
Want to Learn More About Screen Printing?
Whether you’re a beginner, novice, or advanced in screen printing, there’s always more to learn. That’s why we created a Screen Printing 101 resource page covering some of the most important questions we’re often asked. Take a look and if you have any questions or would like to learn more about our world-leading screen printing machines, don’t hesitate to give us a call at (860) 677-6400.
